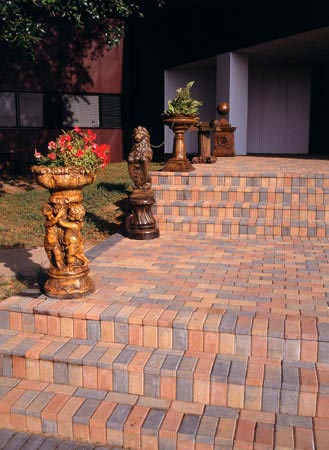
Sneade's Ace Landscaping: Pavers
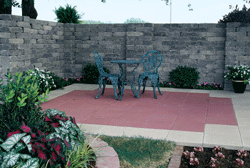
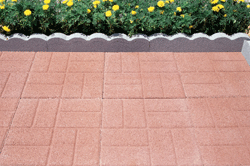
Sneade's Ace is the place for landscaping supplies. Here is a helpful table to calculate how many units needed for your project size: Ask the Pro, Design Center, FAQs, Installation Help, Photo Gallery & Project Information Available Online www.pavestone.com . | | | ROUND | SQUARE | SQUARE | HEX | BRICKFACE | | | PRODUCT SIZE | 12" | 12" | 16" | 16" | 2"X8"X16" | | STONE PROJECT SIZE | | # stones needed | # stones needed | # stones needed | # stones needed | # stones needed | | 10' X 10' 100 sq ft. | | 100 | 100 | 64 | 64 | 112 | 12' X 12' 144 sq ft. | | 144 | 144 | 81 | 81 | 162 | 15' X 10' 150 sq ft. | | 150 | 150 | 96 | 96 | 173 | 20' x 12' 240 sq ft. | | 240 | 240 | 135 | 135 | 270 | 20' x 20' 400 sq ft. | | 400 | 400 | 225 | 225 | 450 | 10' x 10' x 20' 300 sq ft. | | 300 | 300 | 184 | 184 | 338 | 20' x 2' 40 sq ft. | | 40 | 40 | 30 | 30 | 45 | 20' x 3' 60 sq ft. | | 60 | 60 | 30 | 30 | 75 | 20' x 4' 80 sq ft. | | 80 | 80 | 45 | 45 | 90 |
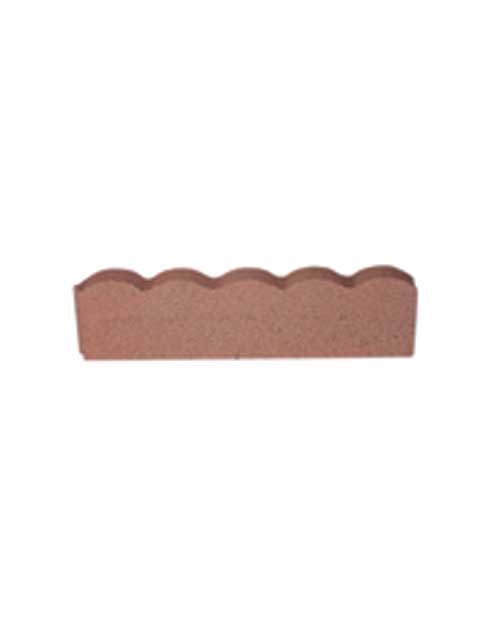
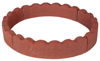
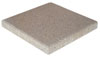
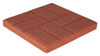
| Use 20.5 cu ft bag | of Pavestone Paver | Sand for every 100 sq. ft. | | | | | | | | | | | | | | | 108849 6CM Holland Paver River Red | | | | 108902 12" Straight Scallop (Red) | | | | 108903 12" Curved Scallop (Red) | | | | 108864 16" Sq Pewter | | | | 108865 16" Sq Red | | | | 108867 16" Sq Brickface Red | | 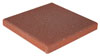 | 108860 12" Sq Red | 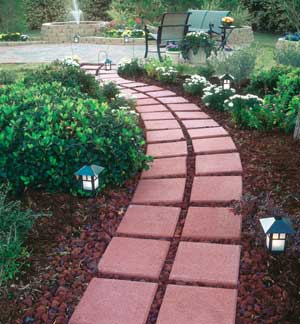
|
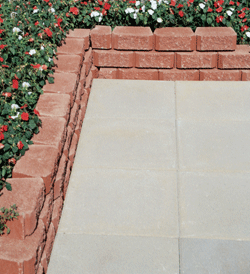
Patio Stone Installation Basics Step 1 - Remove Grass Remove grass from area to be laid with Pavestone Company patio products. Build a frame for your patio or walk with aluminum or plastic edging (redwood or treated lumber can also be used). Patio should slightly fall away from home. Step 2 - Sand Place roughly 1 in. of paver sand over area. (A 2" x 4" notched board approx. 1.5 in. from each end can beused to screed or leel paver sand). Pack with hand tamp or gently spray water hose skywward over project. Step 3 - Placing Stones Start in corner and place stones over entire area. Slide stone straight down; do not slide across pave sand as this will disrupt the base. Step 4 - Side View After laying stones, sweep paver sand across stones, filing joints with sand. (Do not use any kind of Portland Cement or mortar mixture). Equipment List - Gloves & Safety Glasses
- Carpenter's Level
- Aluminum or Plastic Edge Restraint or 4 pieces of Redwood or treated lumber
- Shovel & Spade
- 2" x 4" Board (cut 3" wider than proejcted patio)
- Pick (if ground is hard)
- Paver Sand for joints and bed
- Mason Tool (optional)
Design and Install Your Own Retaining Wall Build small walls, raised plant beds, terracing and landscape edging. Windsor Pewter, tan, Wall Length | Wall Height | 5' | 10' | 15' | 20' | 25' | 30' | | | 4" 1 course | 5 | 10 | 15 | 20 | 25 | 30 | | | 8" 2 courses | 10 | 20 | 30 | 40 | 50 | 60 | | | 12" 3 courses | 15 | 30 | 45 | 60 | 75 | 90 | | | 16" 4 courses | 20 | 40 | 60 | 80 | 100 | 120 | | | 20" 5 courses | 25 | 50 | 75 | 100 | 125 | 150 | | | 24" 6 courses | 30 | 60 | 90 | 120 | 150 | 180 | | | | | | | | | | |
Plan and Calculate Your Project Tools and Materials Needed: - Chisel
- Hammer
- Level
- Shovel
- Stakes and string
- Concrete Adhesive (optional)
- Sand
- Safety Glasses
- gravel
- Gloves
How To Install Your Retaining Wall 1.Dig a trench 12" wide by 2" to 4" deep (6" deep with Gardenwall). Use sand for foundation. Lay base course using string line and level. Complete base course before proceeding to second course. 2. Lay first course level. Align units side by side using string line at back edge of unit. 3. Stagger remaining courses as shown. Connecting lip should overhang back edge of base. 4. Making a curve. Using Windsor Wall, you can make curves with a radius as small as 25". To maintain even spaceing, use a hammer to remove edges of the retaining lip. Always wear safety glasses and gloves. 5. Making a corner. Use hammer and chisel to split unit in half. Half will be used for the corner. Removing connecting lips on corner and adjacent units. Lay full units on either side of corner. For second course, lay remaining half unit in opposite direction to stagger wall. 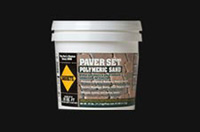 | - Polymer-fortified to lock joint sand in place
- Blocks weed growth in joints
- Easy to apply
| | | |
|